
How to Create Free and Easy Floor Plans
If you’re looking to design and visualize your dream space, pembuat denah mudah gratis is the perfect tool for you. In this tutorial, we will walk you through the steps of creating floor plans quickly and easily.
Step 1: Sign up for an Account
Before you can start designing your floor plans, you need to create an account on pembuat denah mudah gratis. Simply visit their website and sign up for free.
Step 2: Start Designing
Once you have your account set up, you can begin designing your floor plans. Choose from a variety of pre-made templates or start from scratch. Use the intuitive drag-and-drop interface to add walls, doors, windows, and other elements to your floor plan.
Step 3: Customize Your Design
After adding the basic structure of your floor plan, you can start customizing it to suit your needs. Adjust the dimensions, add furniture and fixtures, and paint walls using the built-in tools.
Step 4: Visualize and Share
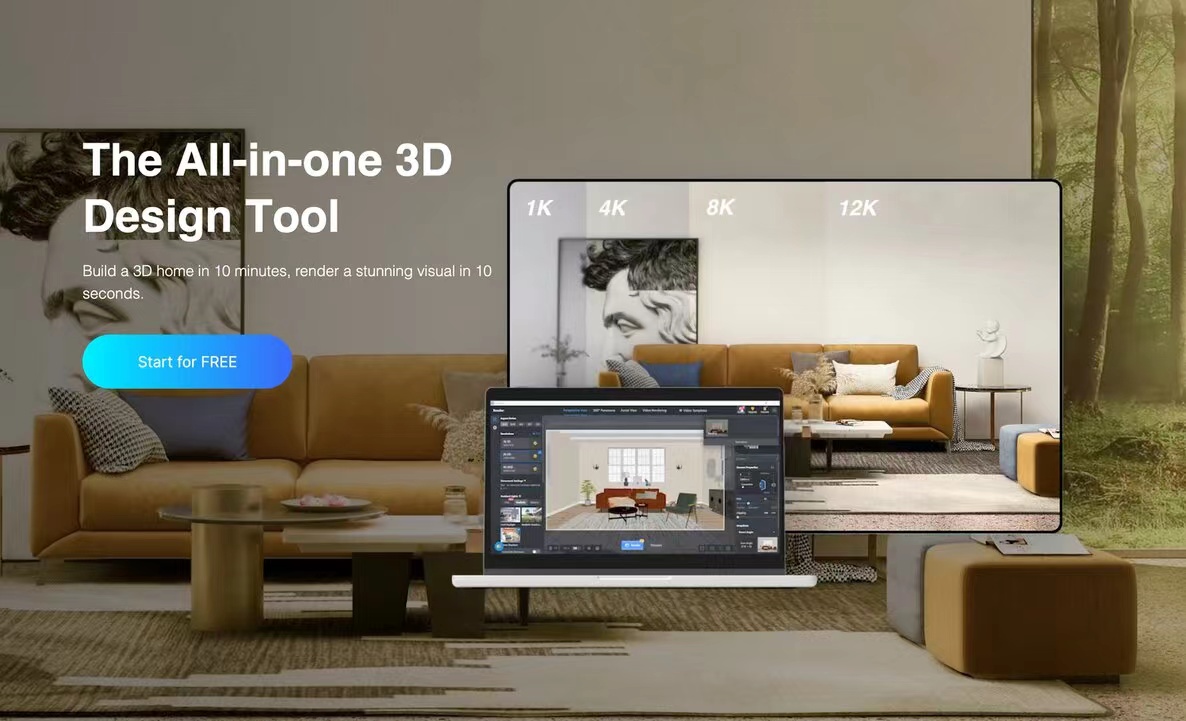
Once you’re satisfied with your floor plan, you can visualize it in 3D to get a better understanding of how your space will look like. Share your designs with friends, family, or professionals for feedback and collaboration.
Step 5: Save and Export
Finally, save and export your floor plan in various formats, including PDF, JPEG, and DWG. You can also print it out for easy reference during construction or renovation.
With pembuat denah mudah gratis, creating floor plans has never been easier. Start designing your dream space today!
