
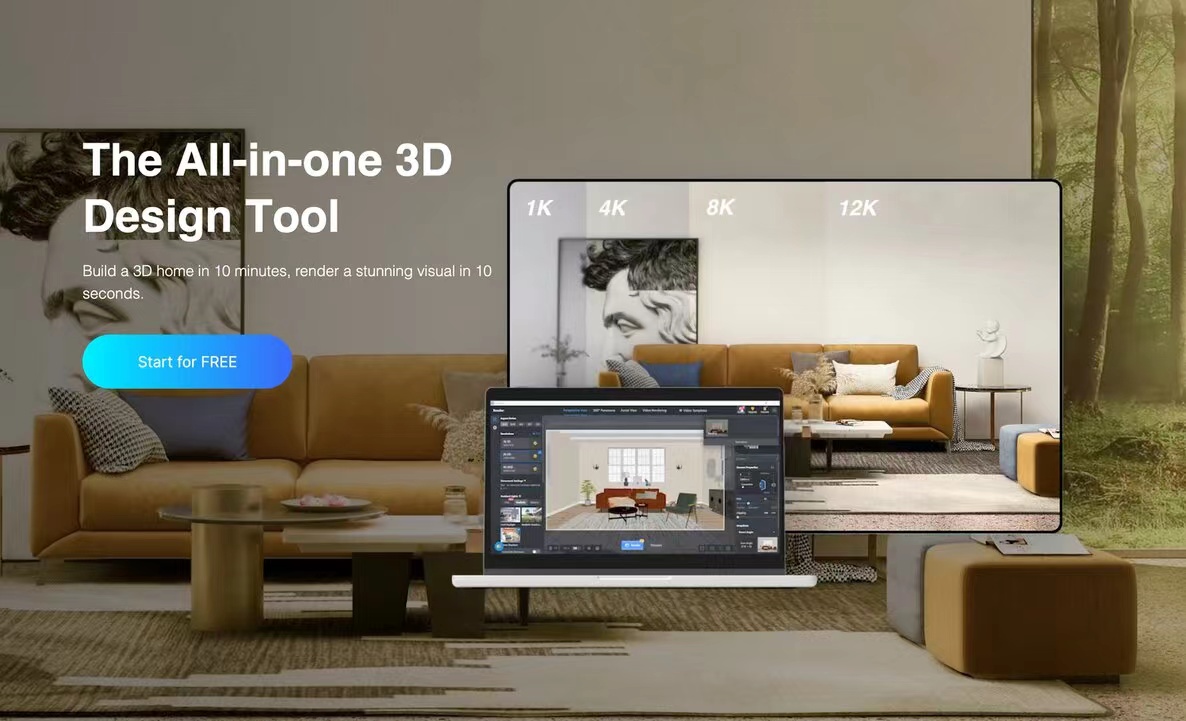
Are you interested in creating a 3D house drawing using AutoCAD? Look no further, as this article will guide you through the process of designing your dream home in 3D.
AutoCAD is a powerful software that allows architects and designers to create realistic and detailed 3D models of buildings. With its extensive tools and features, you can easily bring your ideas to life and visualize your future home.
Step 1: Start with Accurate Measurements
Before you begin your 3D house drawing, it’s important to gather accurate measurements of the space. This includes the dimensions of the rooms, the height of the walls, and any other relevant details.
You can use a measuring tape or a laser distance meter to ensure precision in your measurements. Remember to record the measurements in millimeters or inches, depending on your preference.
Step 2: Create the Basic Structures
Once you have the measurements, start by drawing the basic structures of your house. This includes the walls, floors, and roof. Use the Line or Rectangle tool in AutoCAD to create these elements.
Make sure to align the walls properly and add thickness to represent their actual size. You can adjust the properties of the lines and shapes to match the materials you plan to use in your home.
Step 3: Add Doors and Windows
Next, add doors and windows to your 3D house drawing. AutoCAD provides a wide range of pre-made symbols and blocks that you can use for this purpose.
You can easily insert these elements into your drawing and resize them according to your needs. Pay attention to their placement and make sure they are properly aligned with the walls.
Step 4: Include Interior and Exterior Details
To make your 3D house drawing more realistic, add interior and exterior details. This includes furniture, fixtures, landscaping, and other elements that will give life to your design.
You can find a variety of free or paid CAD blocks online that you can import into your drawing. Arrange them properly and adjust their sizes to fit the scale of your drawing.
Step 5: Apply Materials and Textures
Now it’s time to add materials and textures to your 3D house drawing. AutoCAD allows you to apply different materials to each element of your design, giving them a realistic look and feel.
Experiment with different colors, patterns, and textures to see which ones work best for your vision. You can also import custom materials or create your own using AutoCAD’s material library.
Step 6: Render and Visualize
Once you’ve completed your 3D house drawing, you can render it to create a photorealistic image or walkthrough animation. AutoCAD offers various rendering options, allowing you to showcase your design in the best possible way.
Take advantage of the lighting and camera settings to create stunning visualizations of your future home. You can also add landscaping and other outdoor features to enhance the overall appearance.
With AutoCAD, you have the power to transform your ideas into realistic 3D house drawings. Whether you’re an architect, interior designer, or someone passionate about home design, AutoCAD is the perfect tool to bring your visions to life.
